-
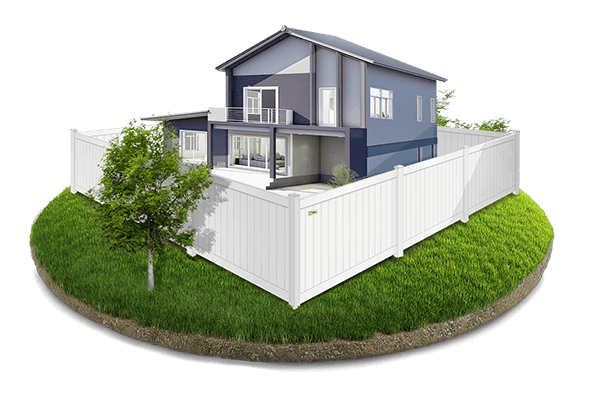
Professional Fence Installation
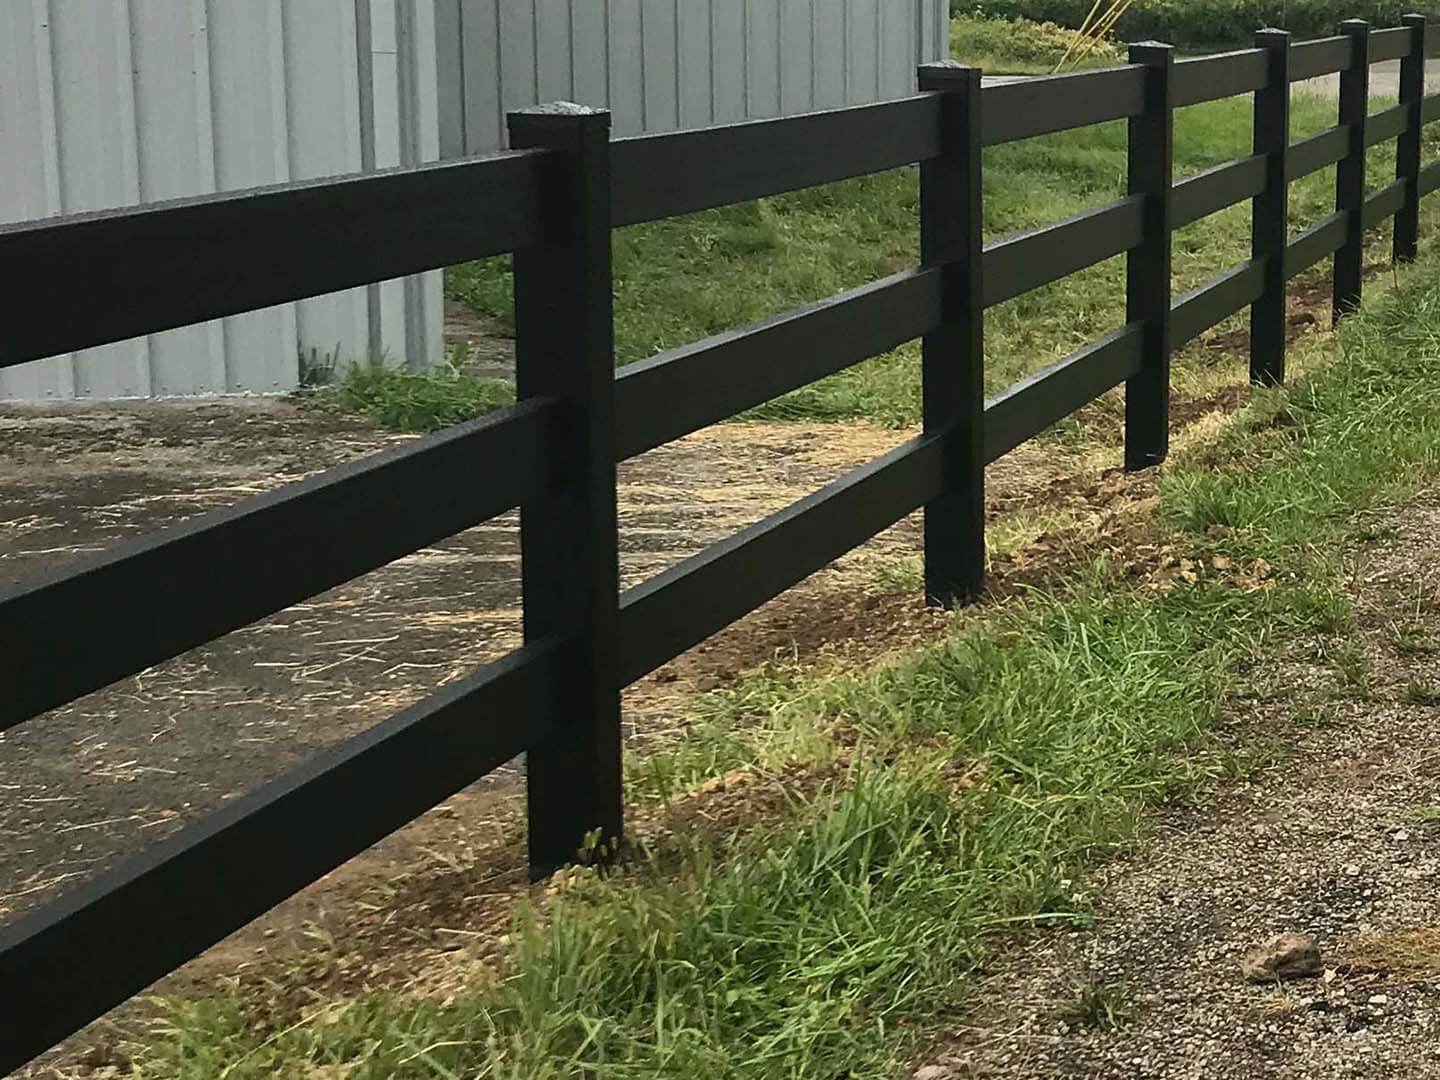
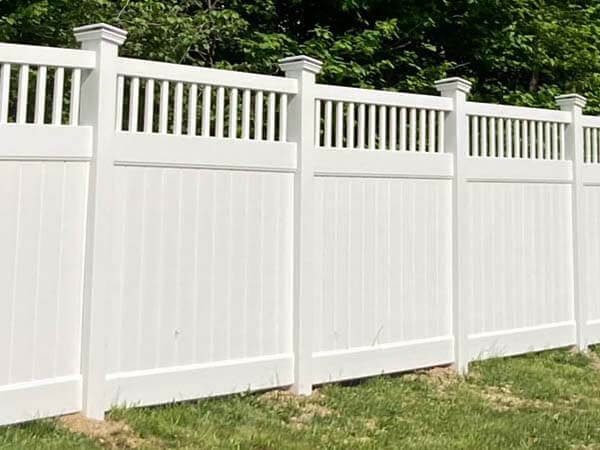
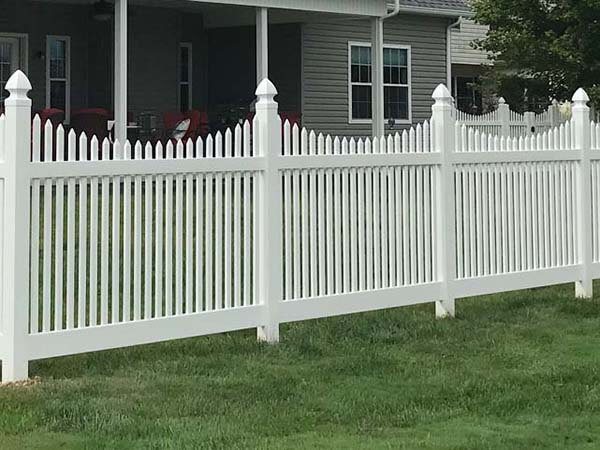
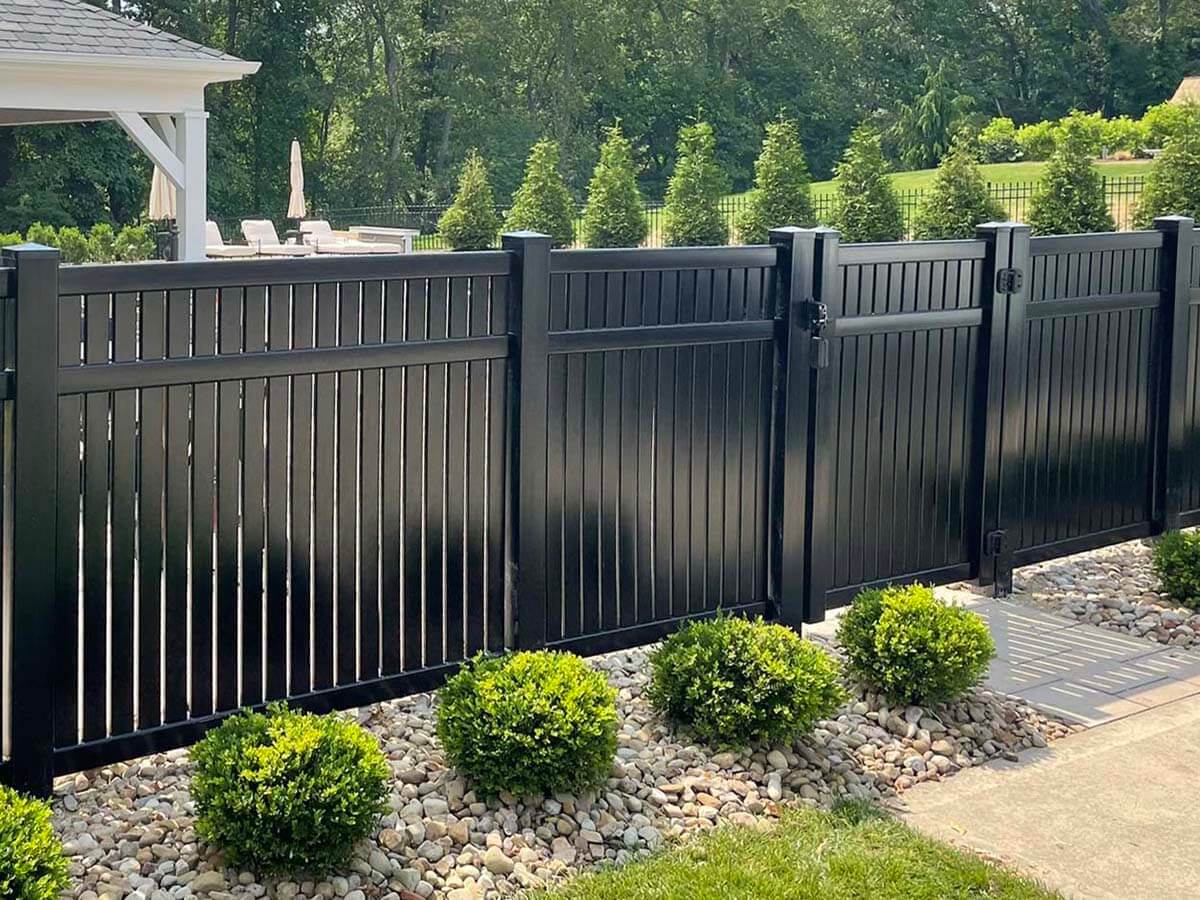
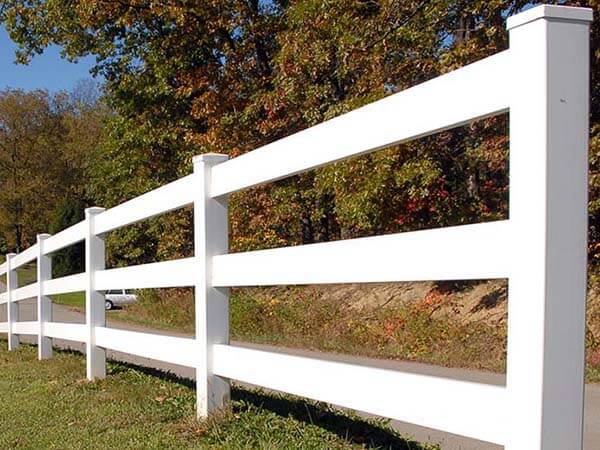
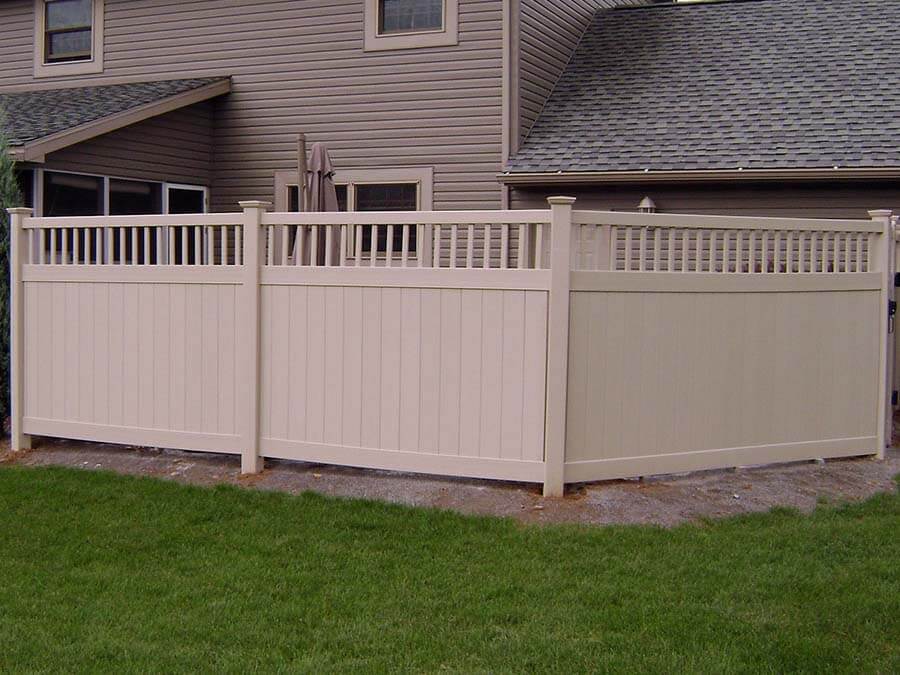
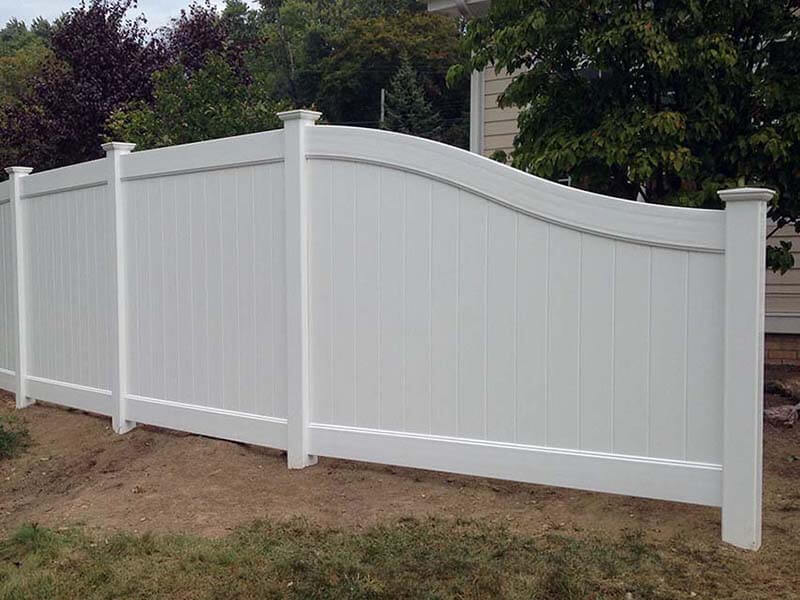
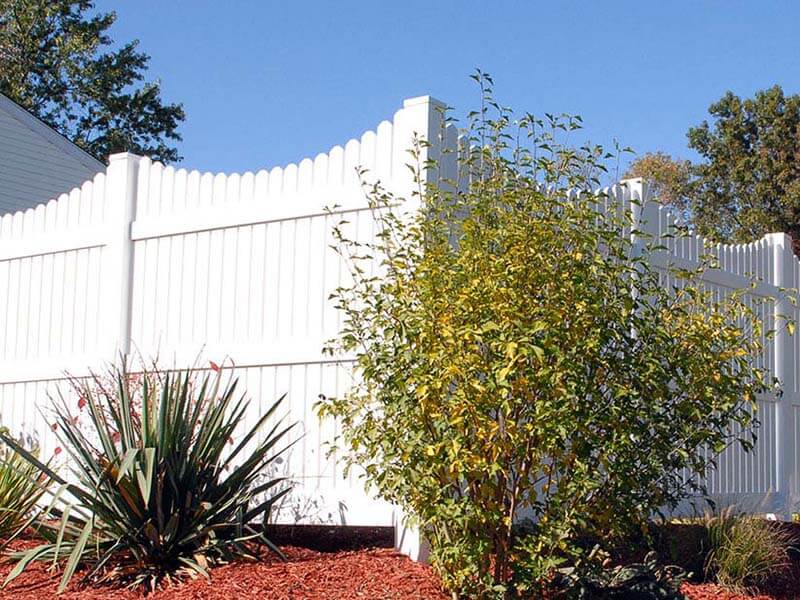
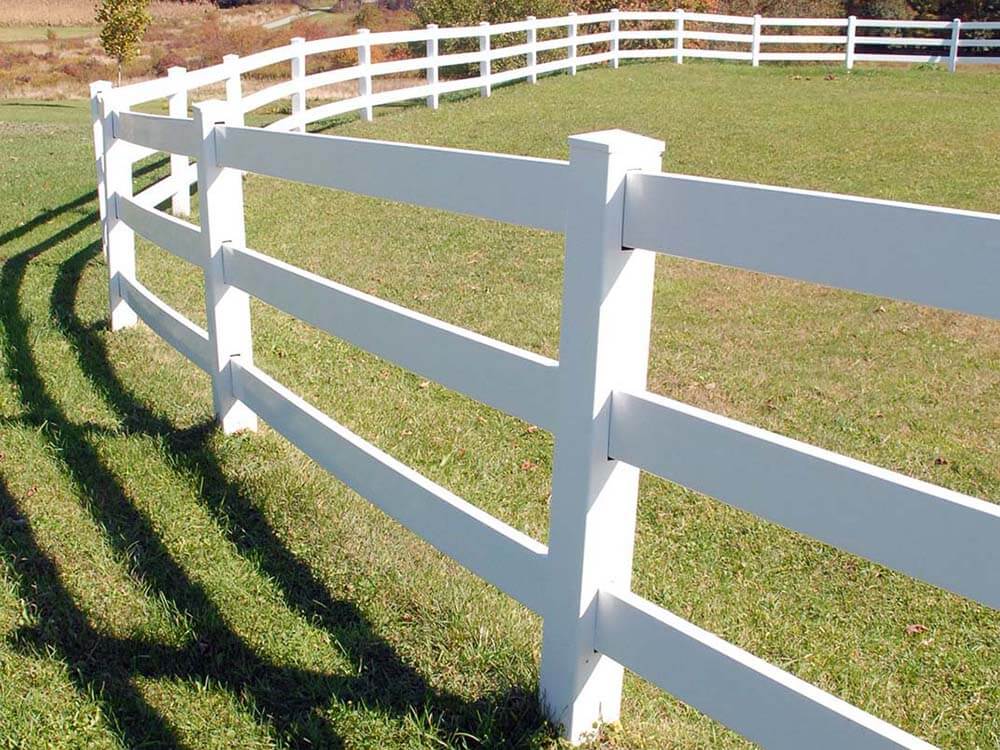
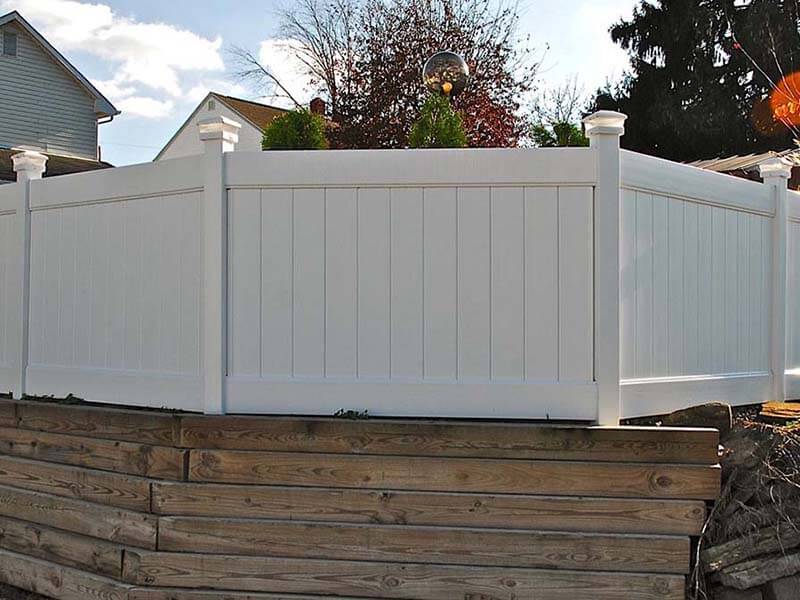
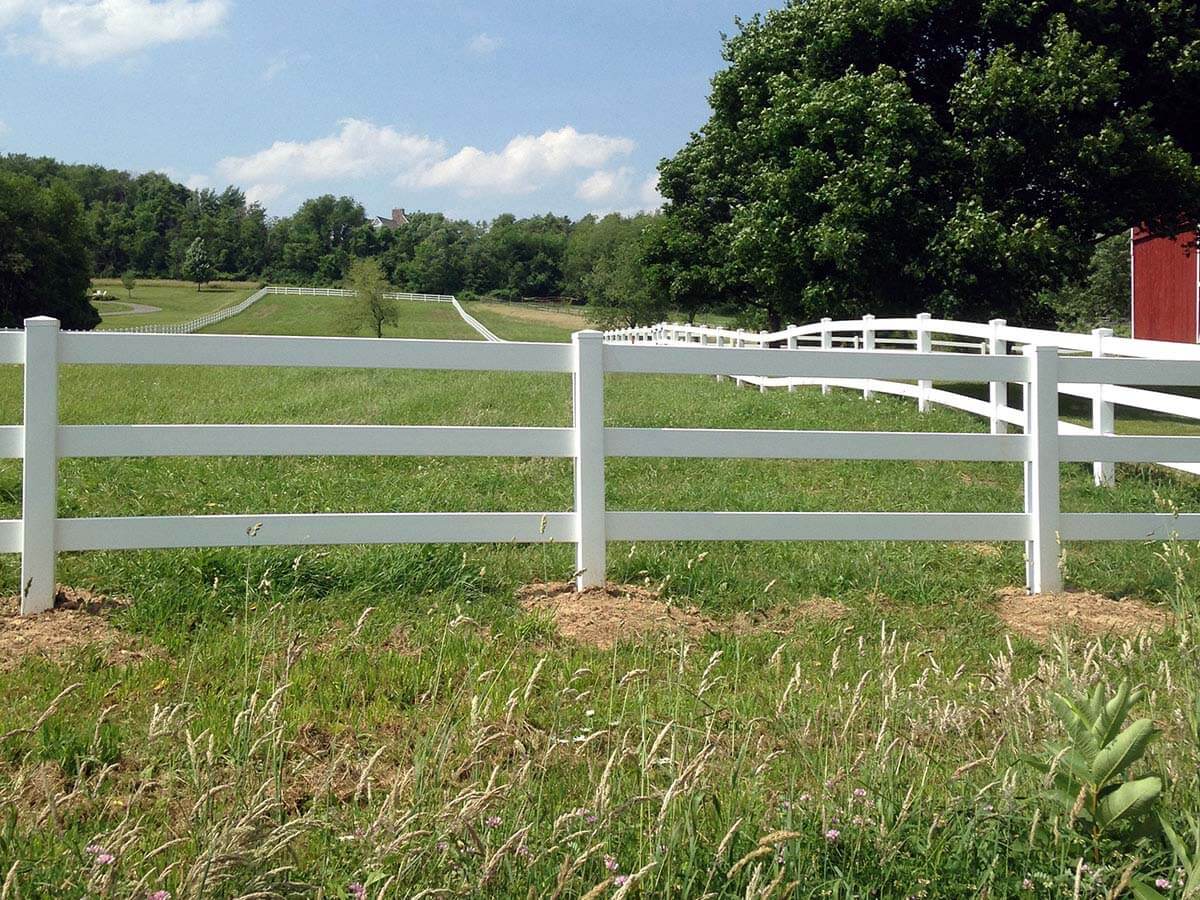
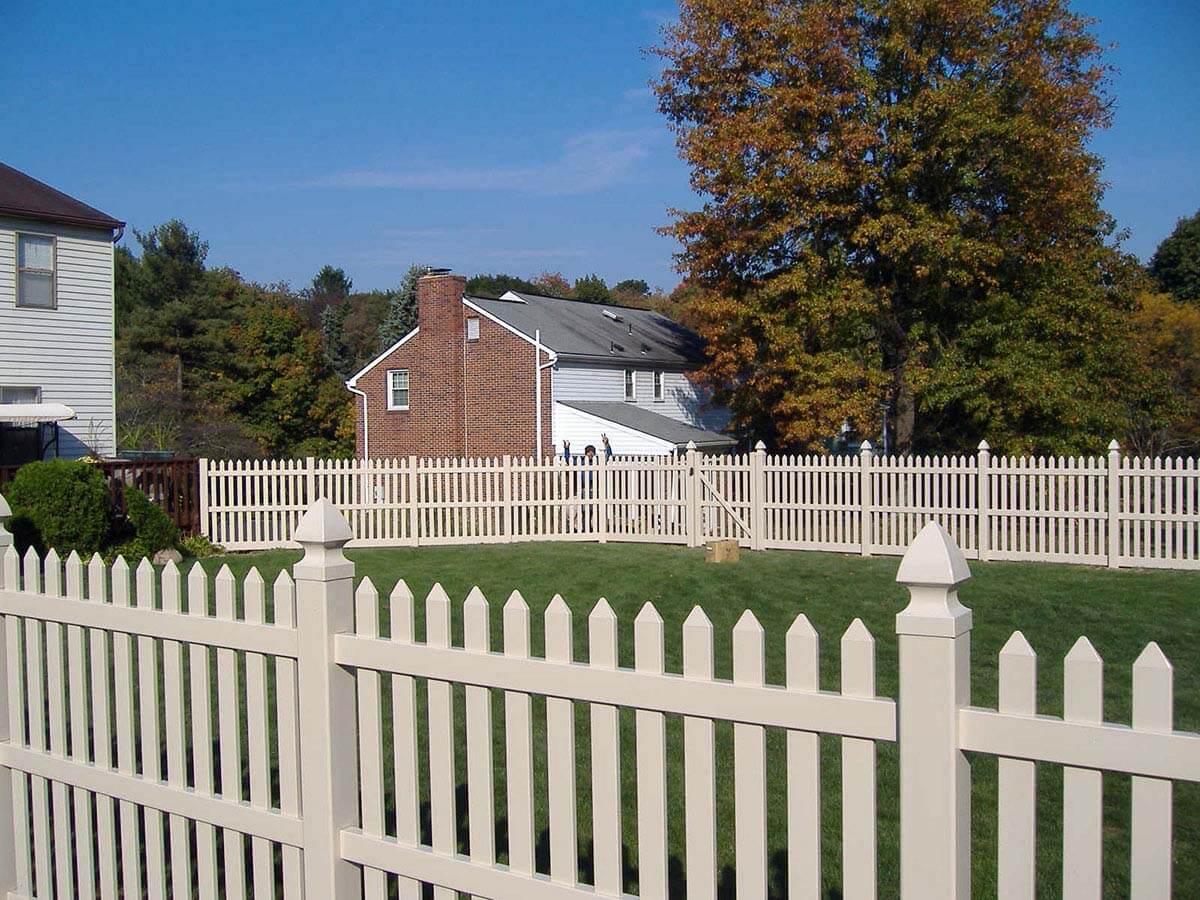
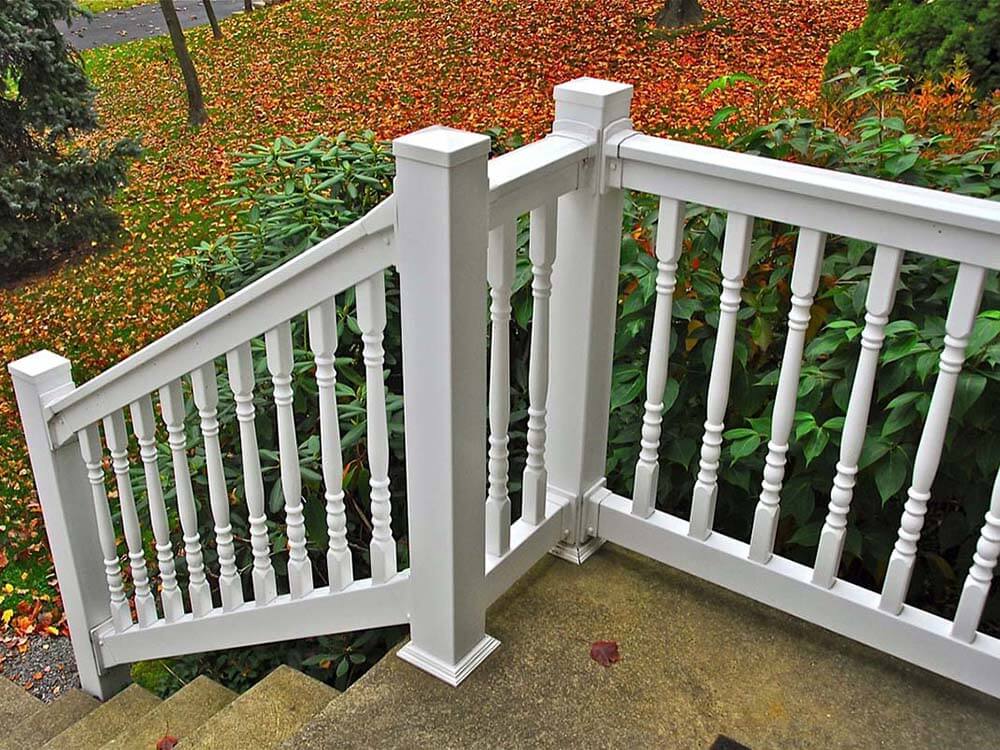
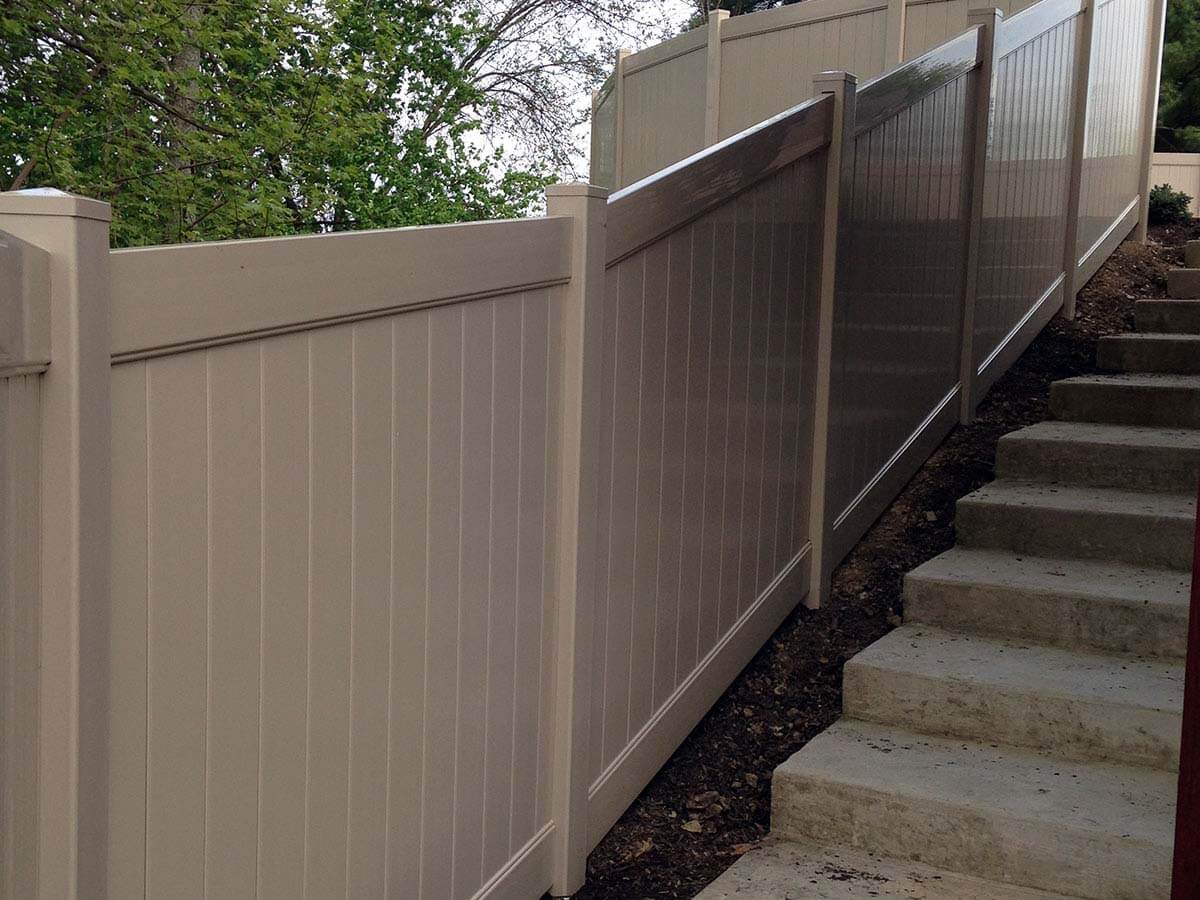
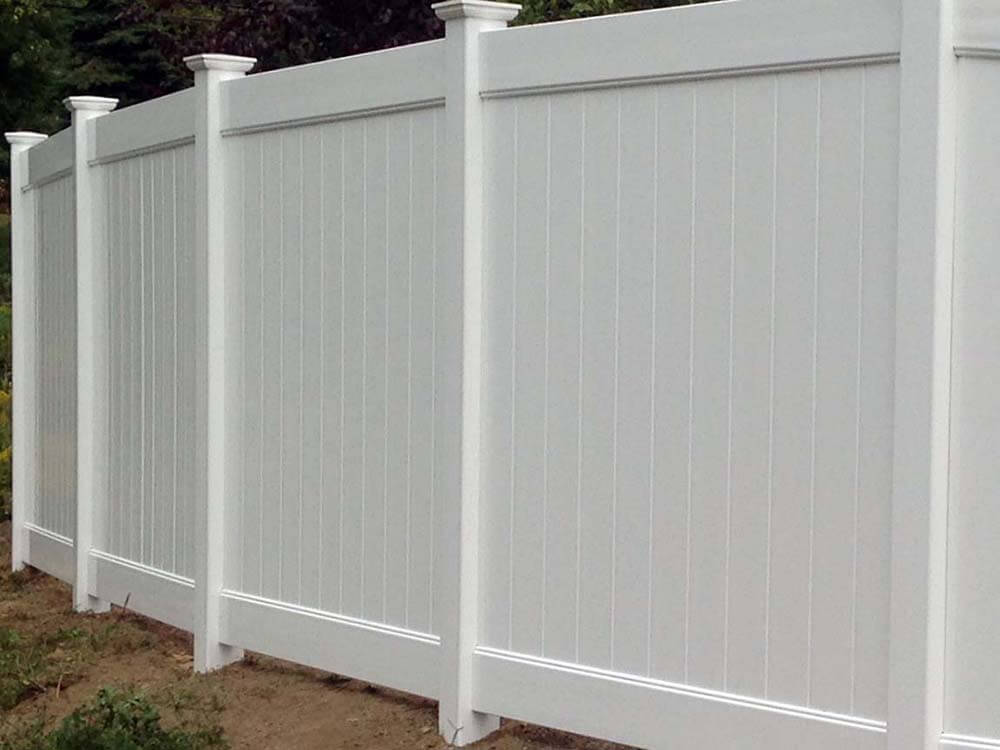
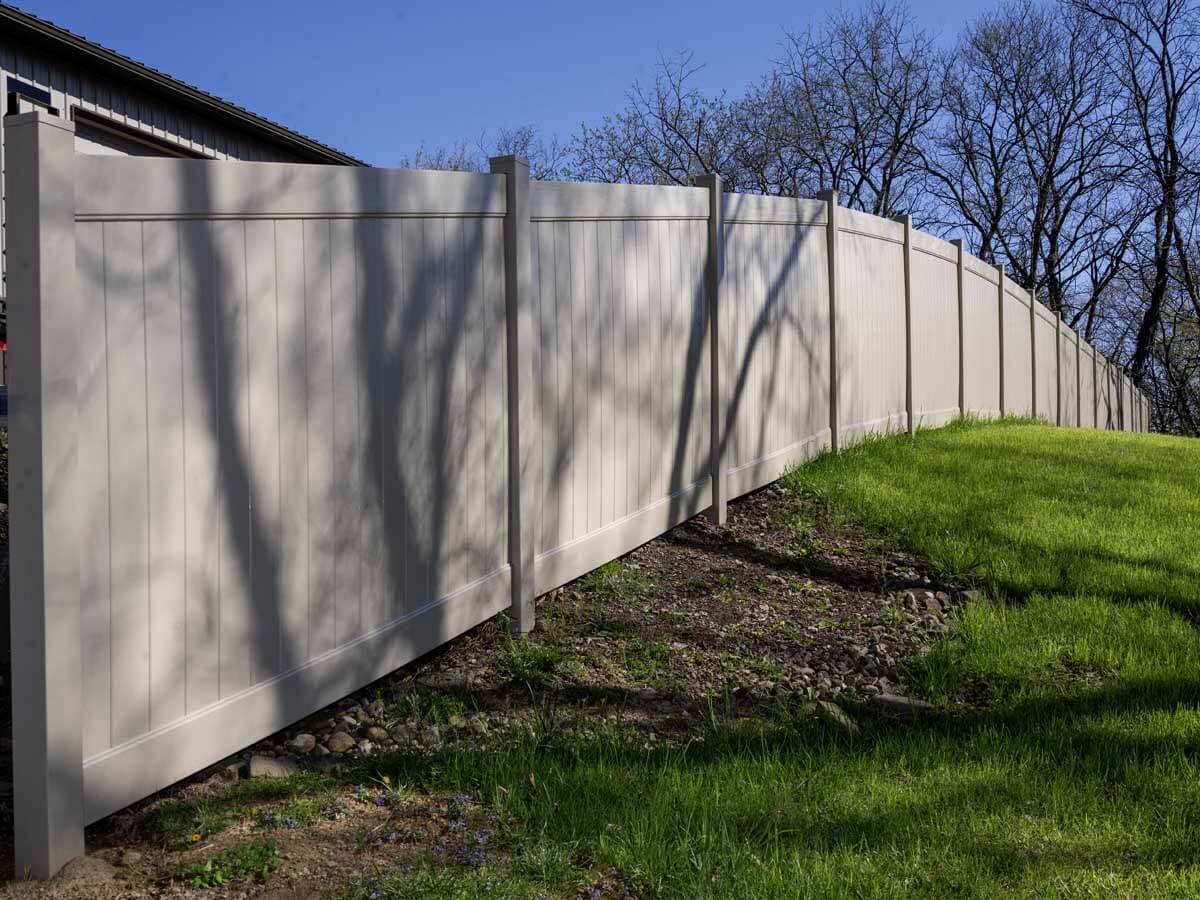
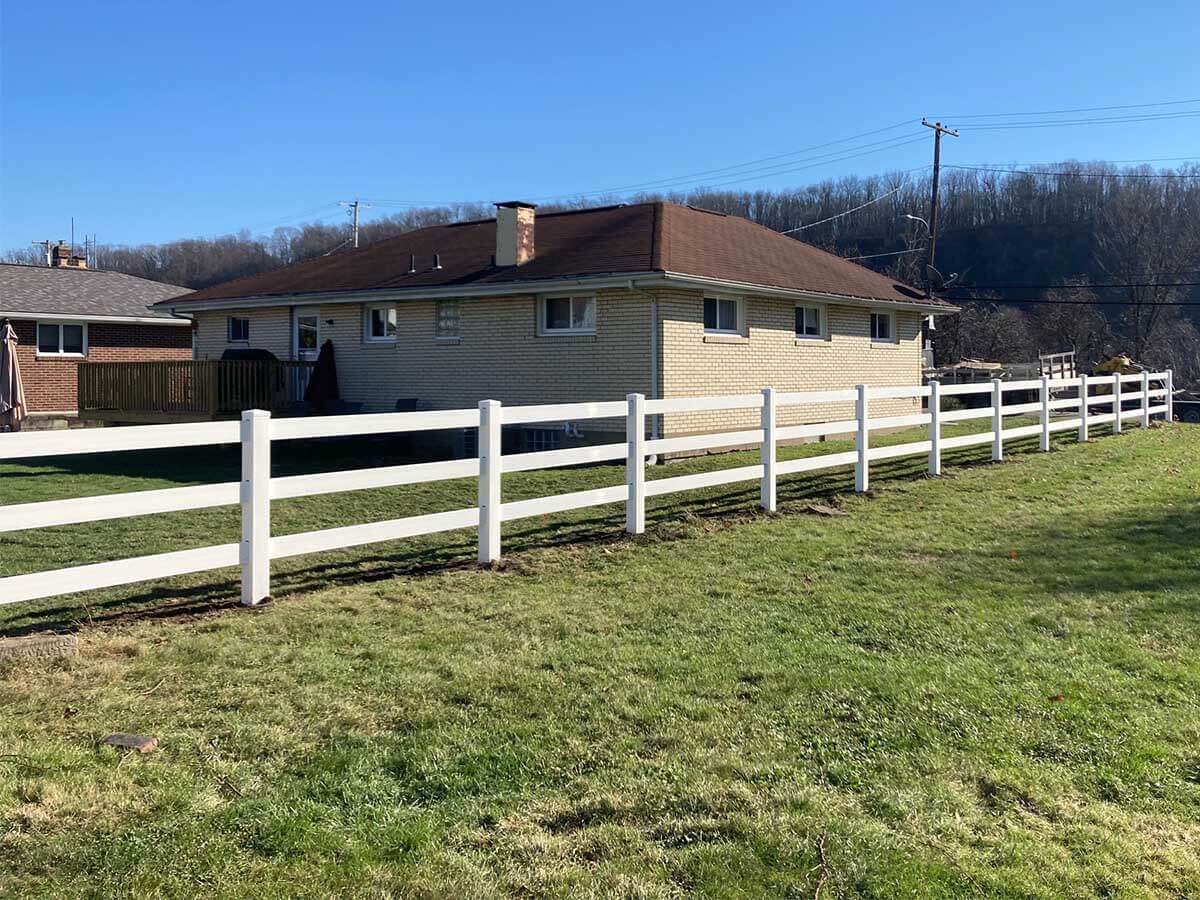
Fence, Railings, Decks and More
-
Residential Solutions
Commercial Solutions
Buy Gate Hardware & Supplies
Buy Railing Materials & Supplies
Decks
Buy Deck Materials & Supplies
-
-
Shop Materials
Fence, Railings, Decks and More
-

Shop Online
We fabricate, sell, and ship high-quality products across the United States. Choose products ready for pickup or delivery.
Shop Now
-
-
Explore
Photos, Blogs, Resources
-

Locations
Company
-
About Us / Our Team
Learn more about Penn Fencing and our humble beginnings.
-
Our Difference / Why Choose Us
Trusted experts delivering quality fences with great service.
-
Contact / Our Locations
Reach out to our team for quotes, questions, and help.
-
Testimonials / Reviews
See what our customers are saying about our work!
-
In the Community
Giving back and staying connected to our local community.
Resources
-
Blog
Read tips, trends, and more on fencing and outdoor living.
-
FAQs
Find answers to common questions about our services.
-
Warranty
Have peace of mind with warranties on your new fence!
-
Product Brochures / PDFs
Explore a range of products through our downloadable brochure.
-
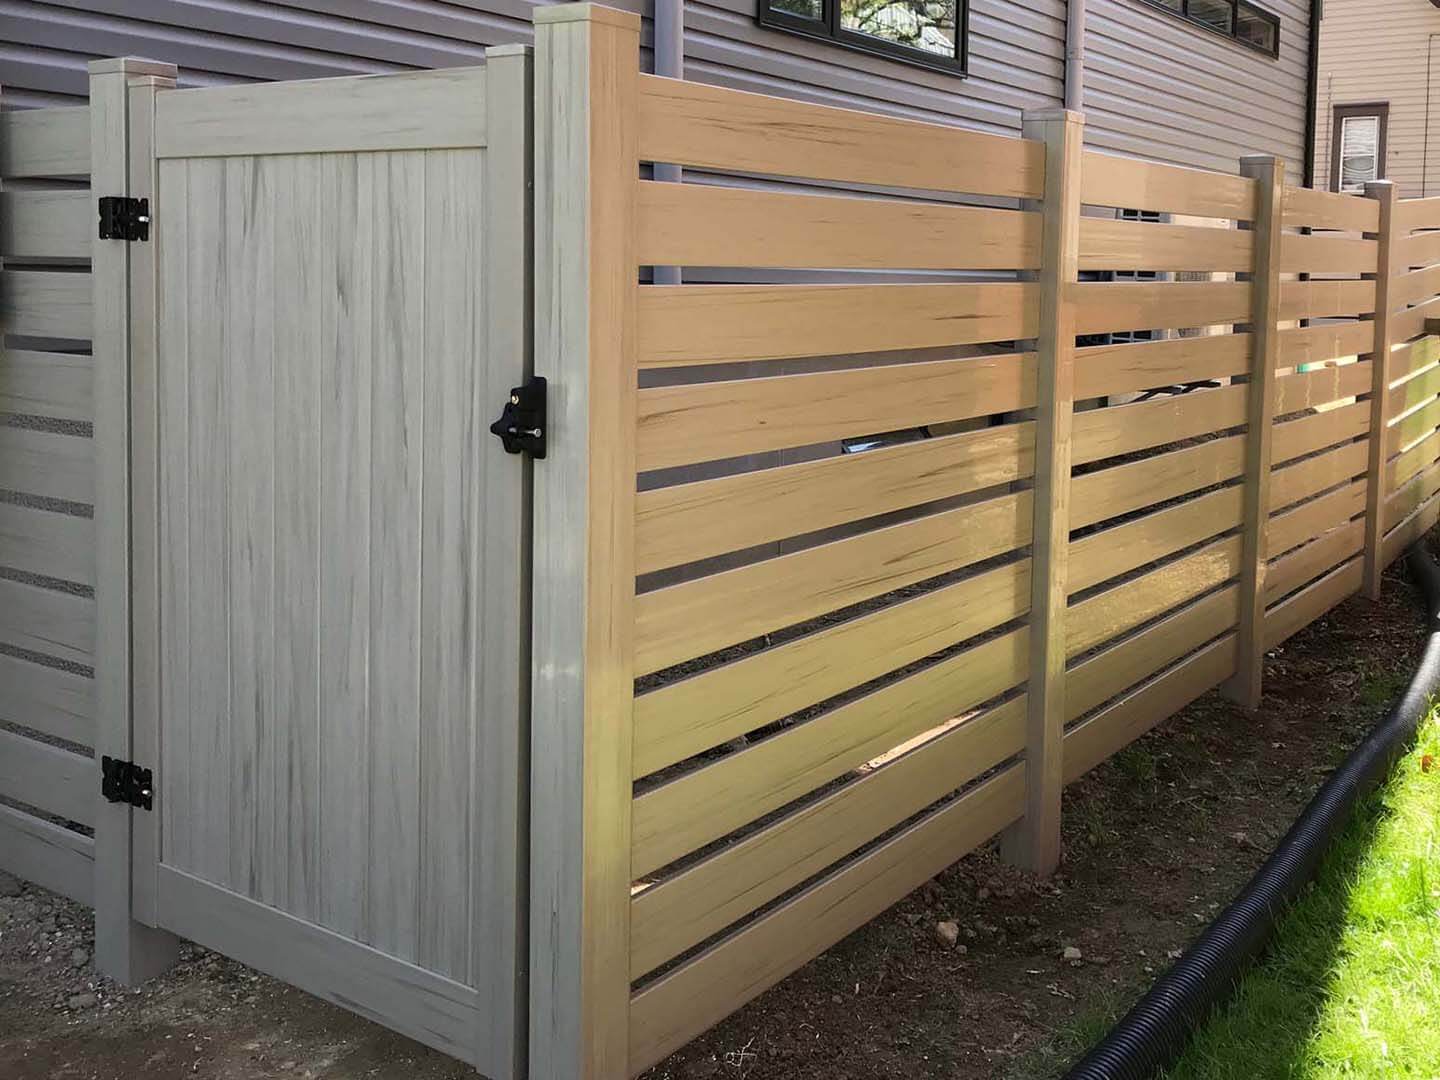
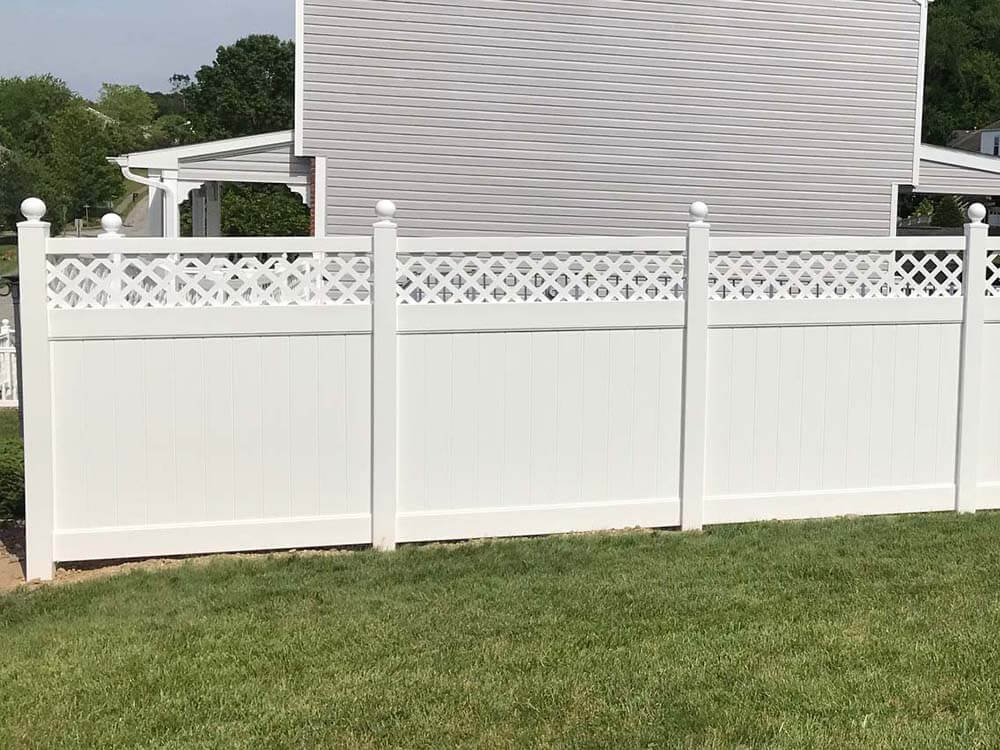
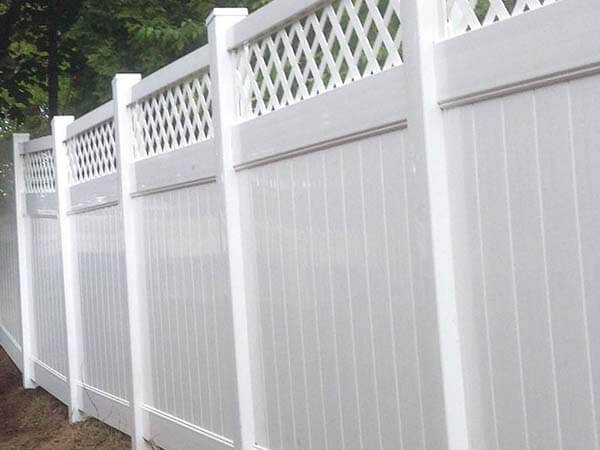
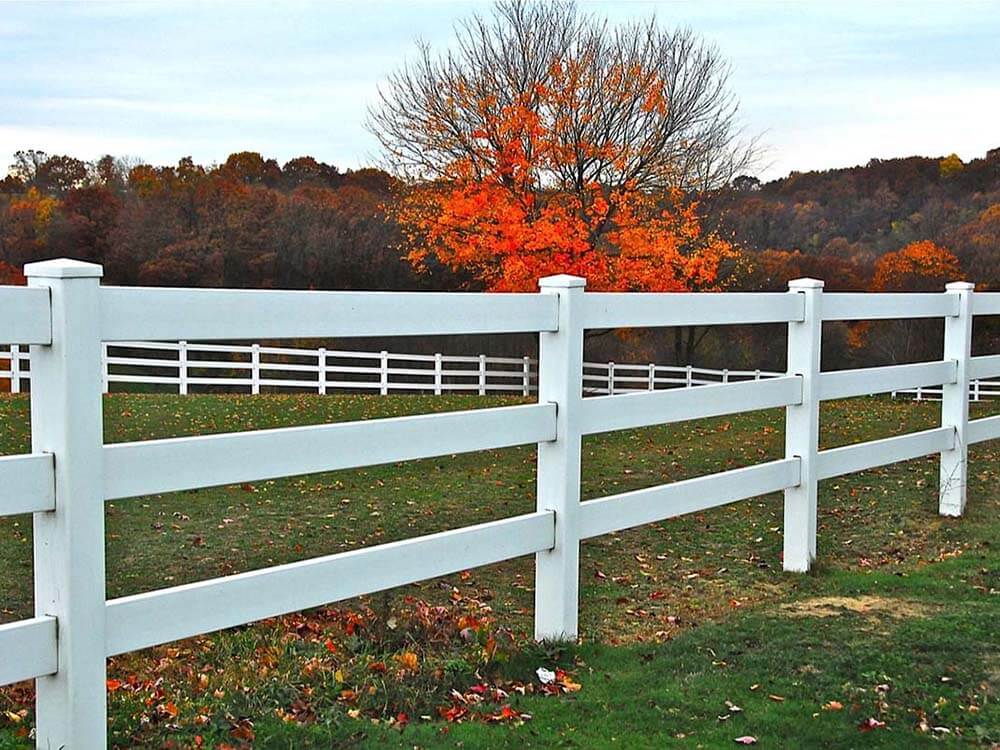
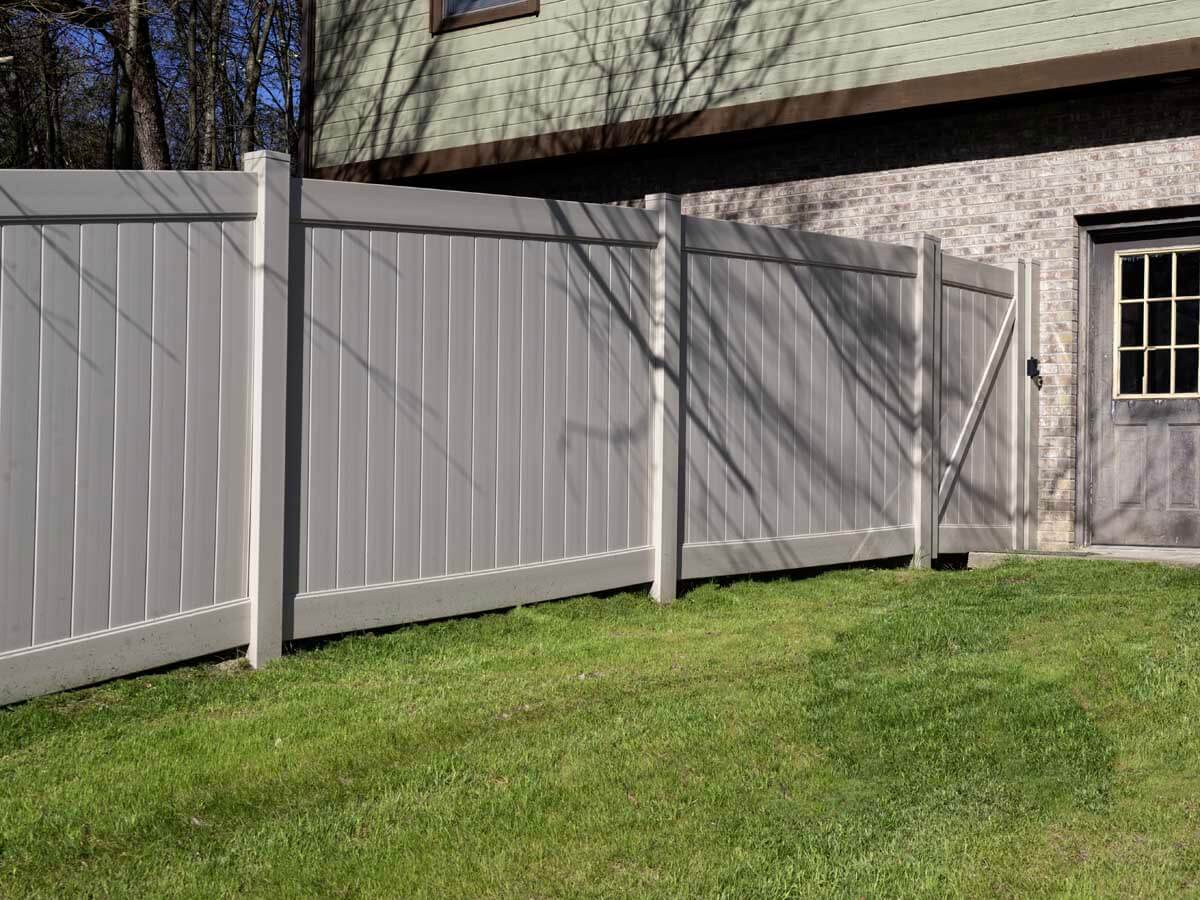
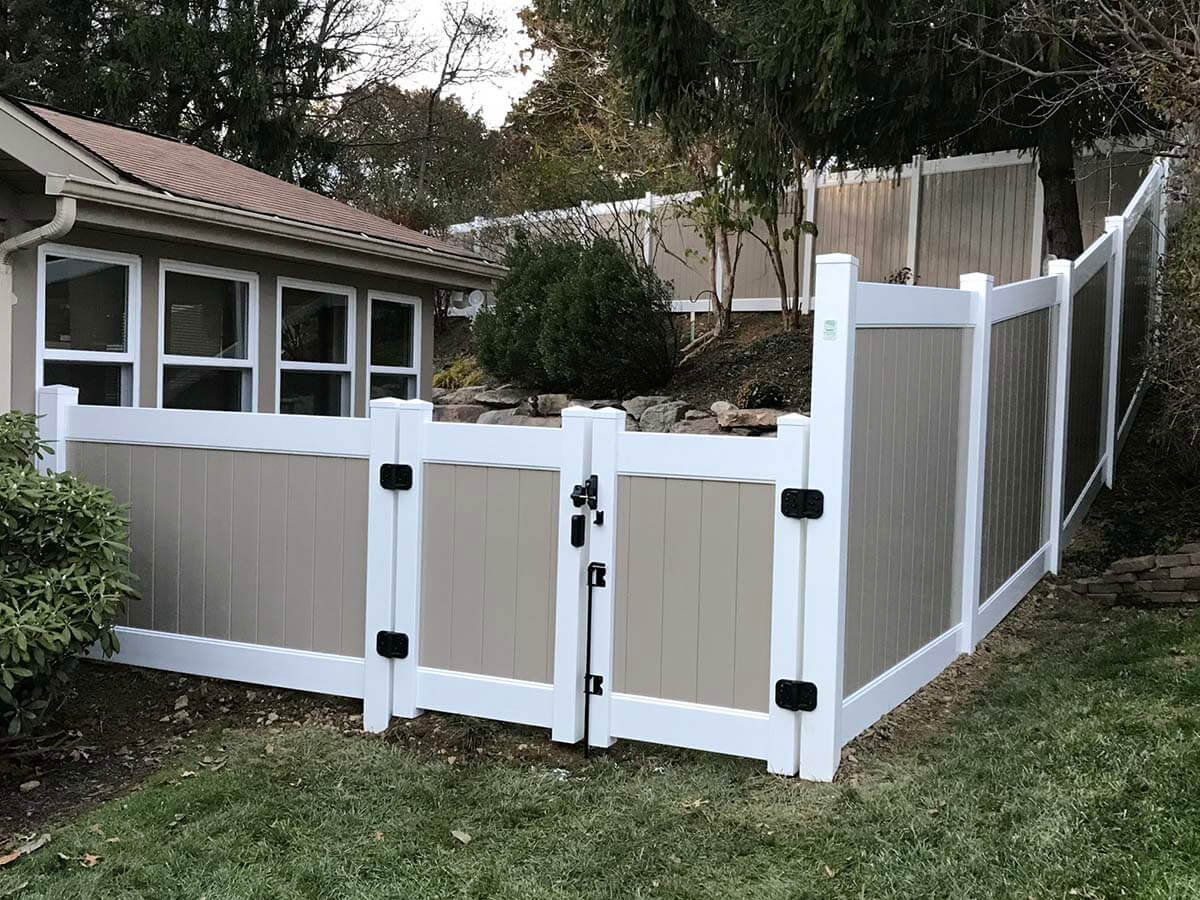
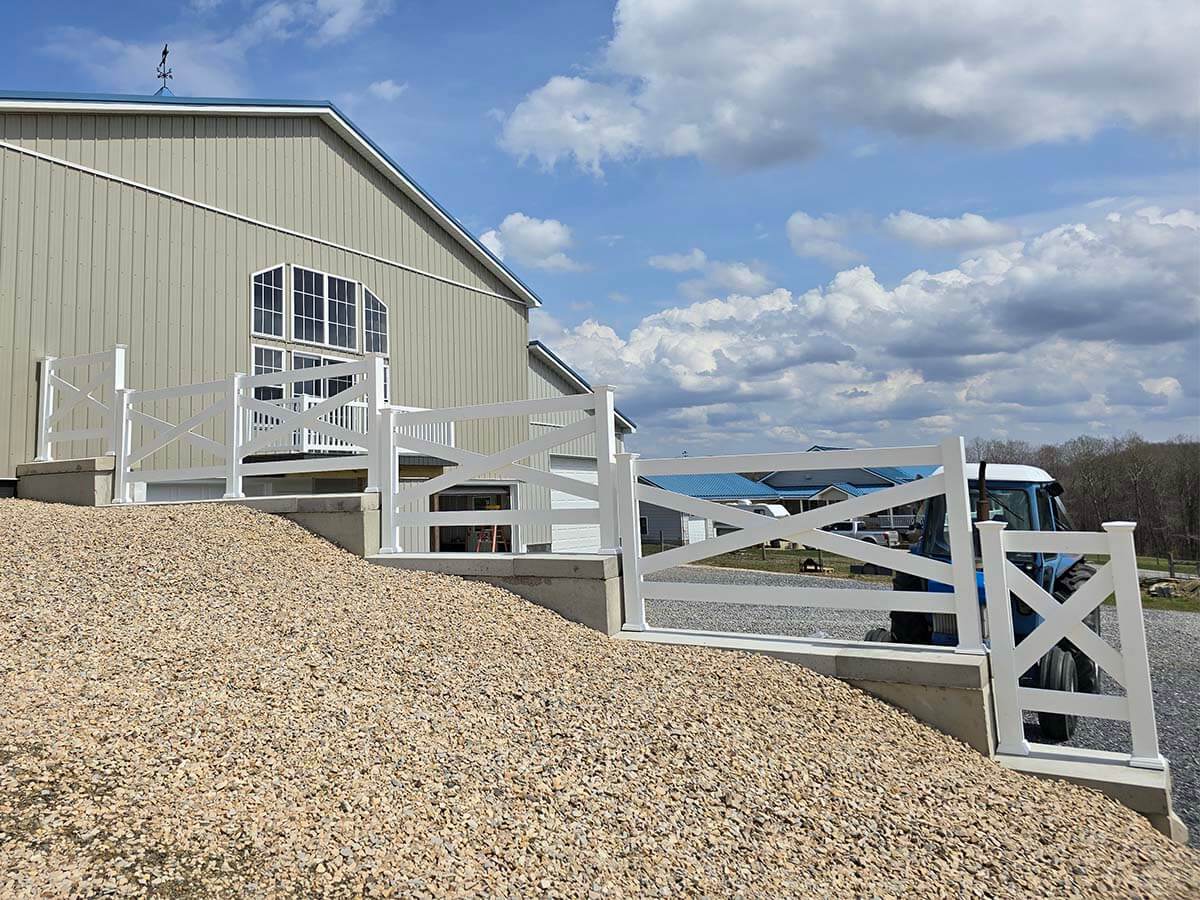
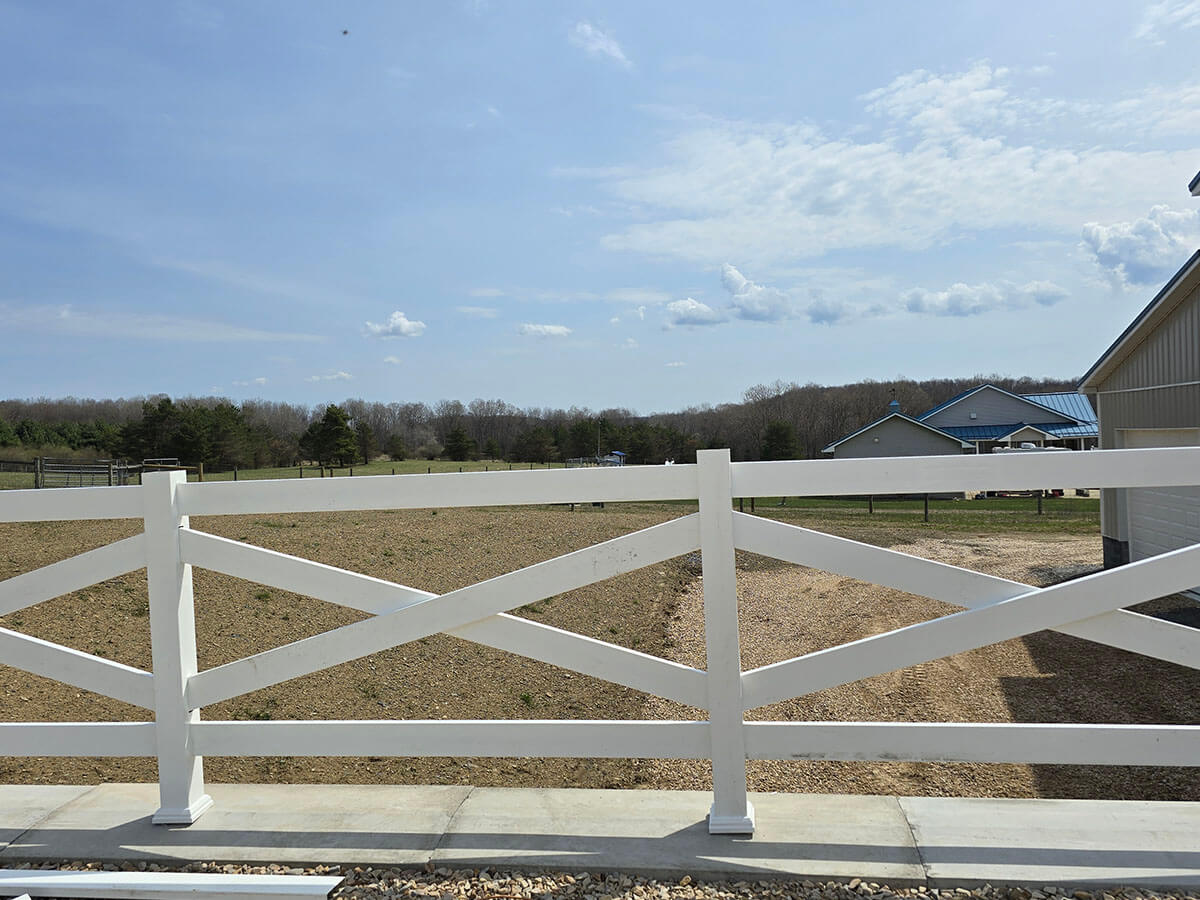
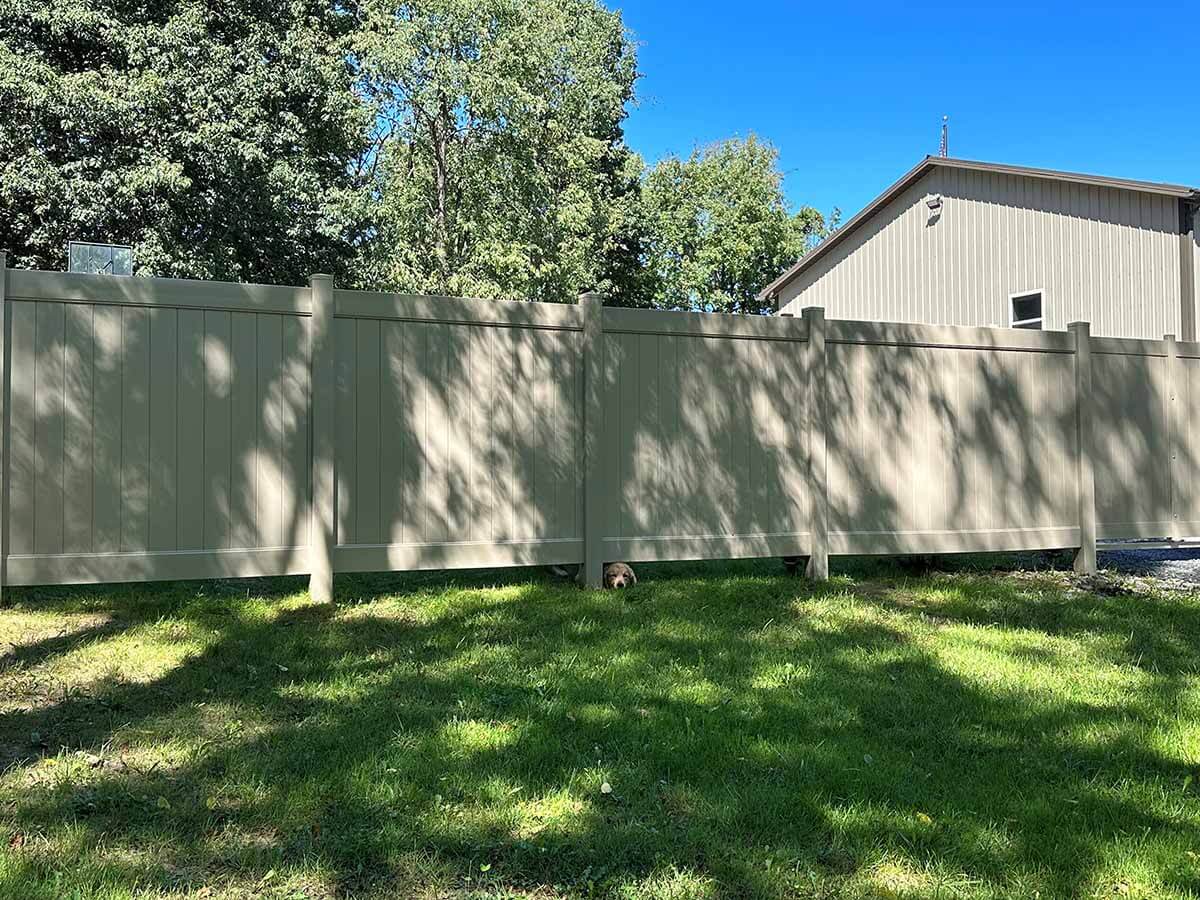
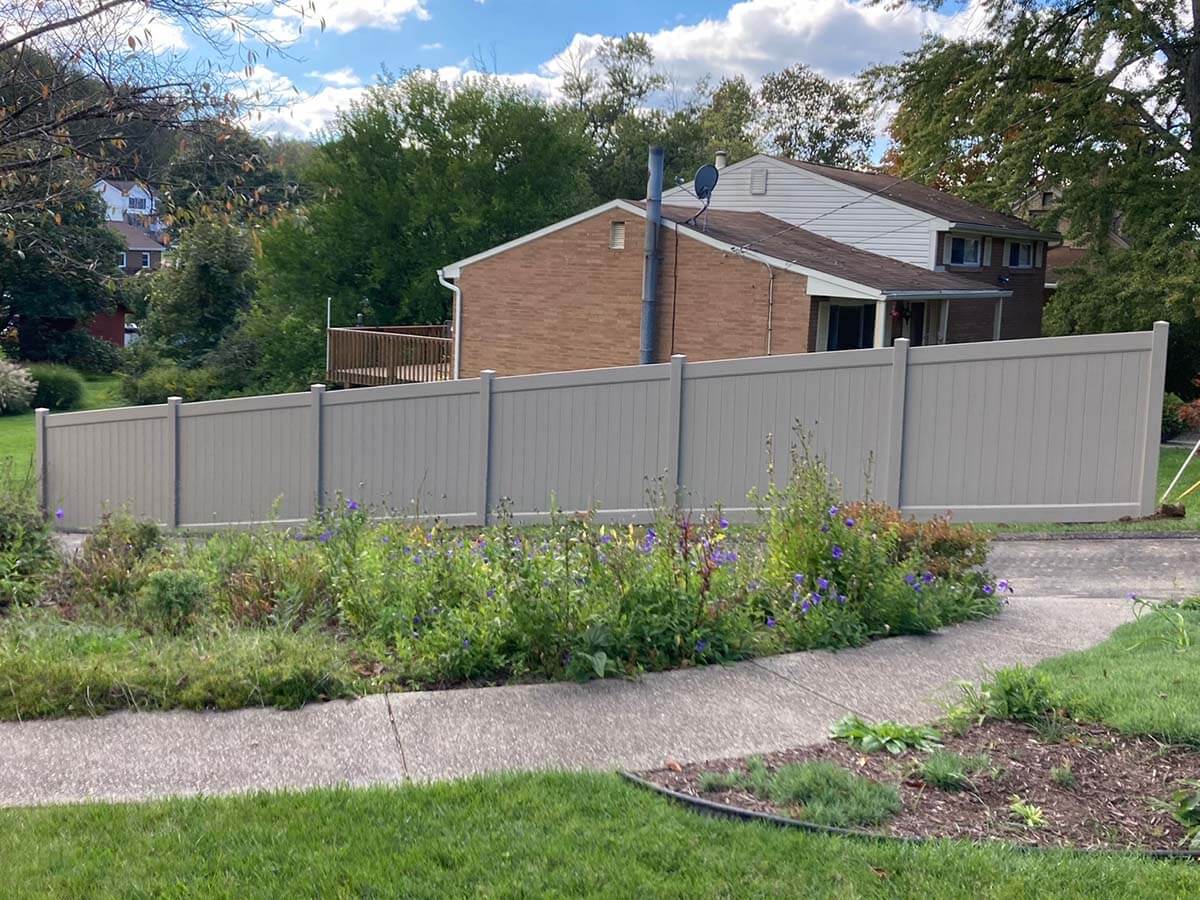
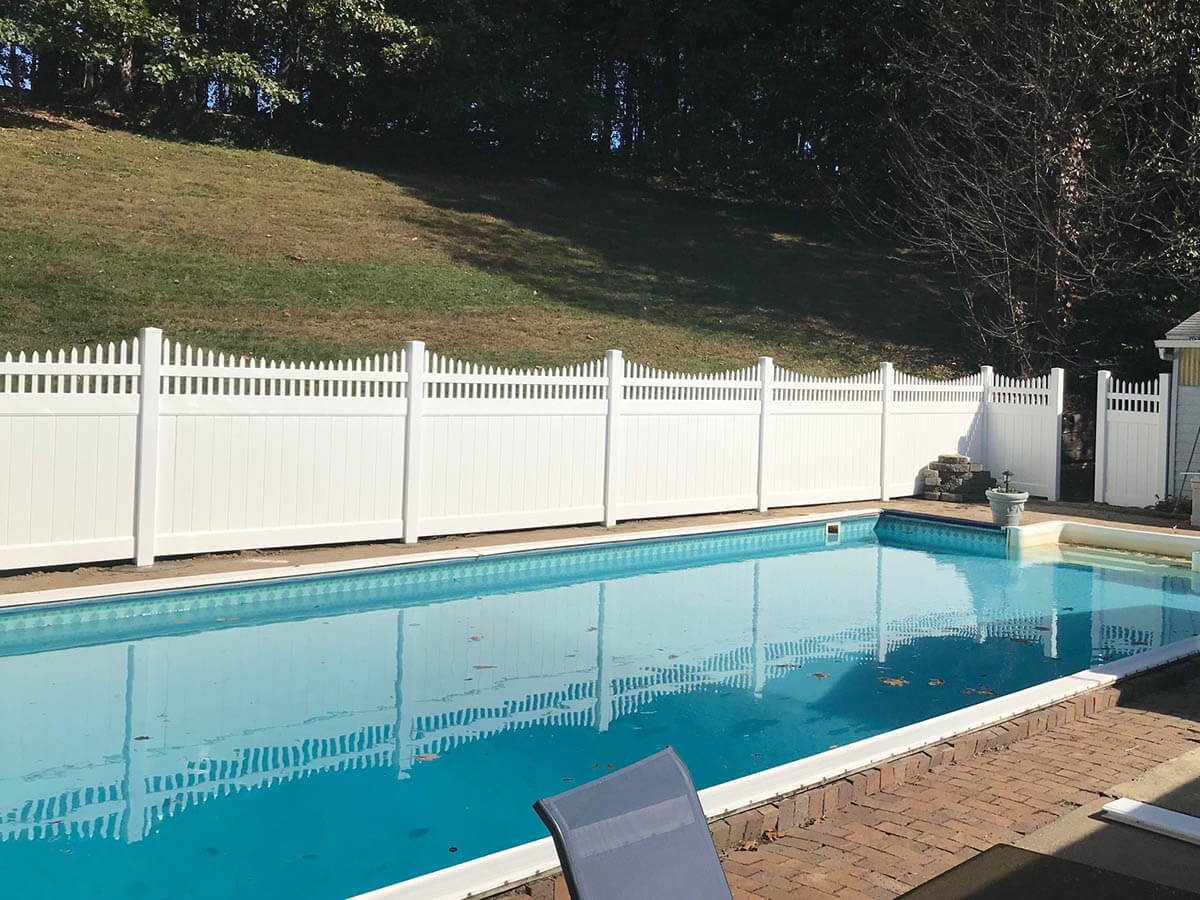
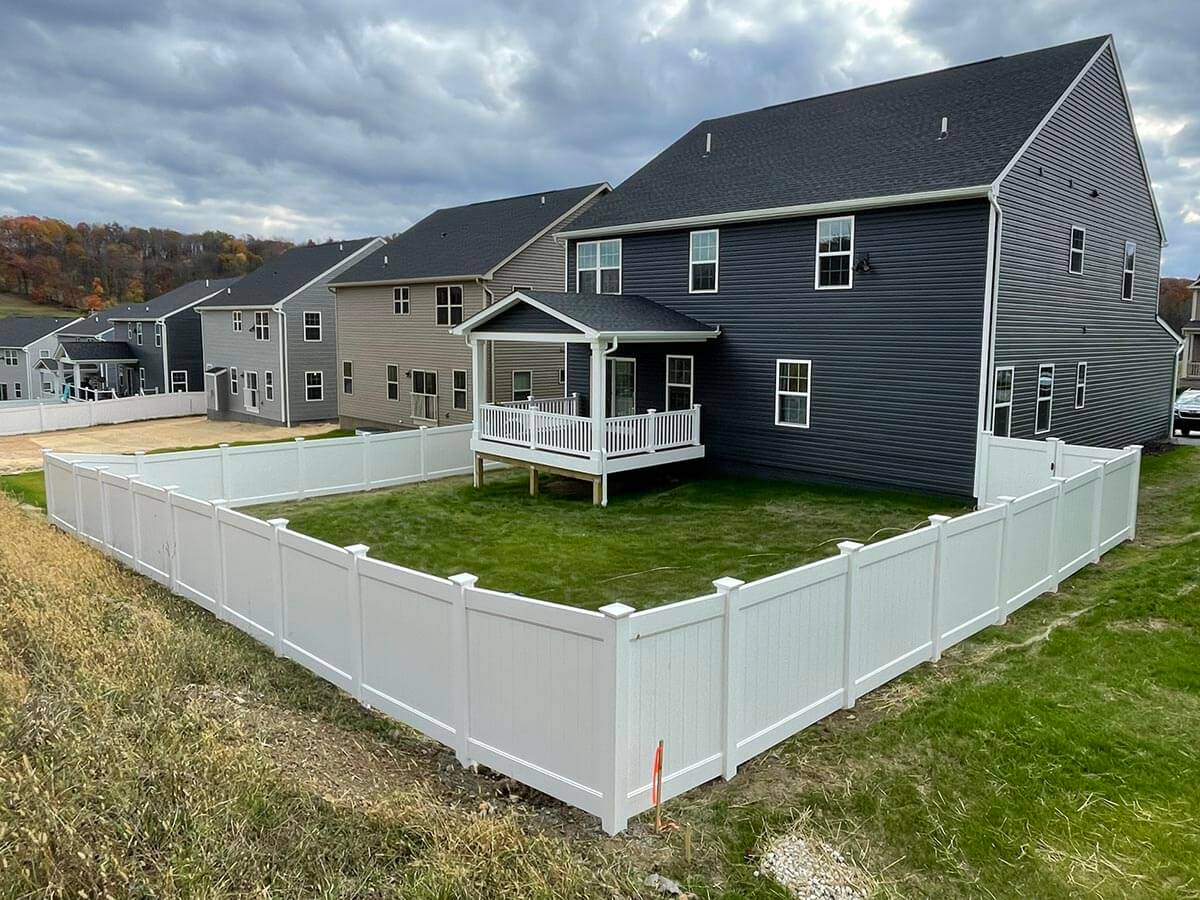
Photo Gallery
Browse photos of our fences, gates, decks, and railings.
-
Financing
Get flexible financing to fit your budget and needs.
-
Get Social / Connect
Connect with us and see what we're up to on social media!
-
About Us / Our Team
-