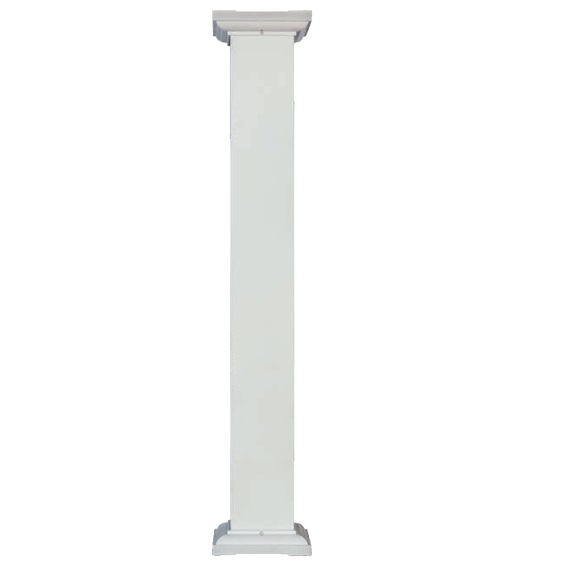
Easy to install aluminum and vinyl post wrap covers for existing or new wooden porch posts.
Features & Benefits
If your existing porch roof column is still structurally sound but needs a long-term cosmetic overhaul, consider porch vinyl post wraps. Our quality vinyl column wrap is a 4-piece system that snaps in place around the existing column. Installation is simple. Often, the only tool needed is a saw to cut the wrap to length. After measuring the deck or porch post and cutting the vinyl post wrap to size, the installation is completed by simply snapping each of the four pieces into the next at each corner of the wood post. Installation can be completed by one person, but another set of hands makes the vinyl post wraps installation even quicker and easier.
Vinyl Post Wraps Made in USA
This easy to install 4-piece vinyl post wrap is made in the USA, locally here in PA. The attractive finish with four flush sides and simulated seam lines provide both symmetry and just the right amount of detail.
THE 4-PIECE VINYL POST WRAP SYSTEM INSTALLS IN A SNAP!
4-piece vinyl construction
White, tan or clay in 4"x4" or 6"x6", 8' or 10' lengths
Aluminum Post Wraps
We also carry a line of high-quality aluminum post wraps in various colors, widths and lengths. Easy to install aluminum post wraps with snap together assembly.
THE ALUMINUM POST WRAP SYSTEM INSTALLS IN A SNAP!
Includes 1 pc capital, 1 pc base, and 8 angle brackets
Gloss white, textured white, textured bronze and textured black in 6”x 6” or 8”x8” sizes and 8’ or 10’ lengths
Vinyl Post Wrap Installation
Tools and Supplies Needed:
Measuring Tape
PVC Cement (optional)
Saw with fine tooth blade
Hammer and Roofing nails (optional)
Measure the length of post wrap needed and cut the vinyl post wraps to length using a fine tooth saw. Then, place the first piece of post wrap against the post and fasten through the fastening flange.
Insert the flat end of the second piece of vinyl post wrap into the assembly slot of the first piece. Again, attach to the post using fasteners through the fastening flange.
Repeat the previous step to fasten the third piece of post wrap.
When attaching the last piece of the vinyl post wrap, once again begin by inserting the flat end into the assembly slot of the previous piece. Next slide the slot of the fourth piece over the flat end of the first piece. PVC cement may be used where the flat ends insert into the assembly slot.
Base trims are a universal size that can be trimmed to fit using a fine tooth saw. Measure the size of base trim needed and cut to length using a fine tooth saw. The under side of the base trim pieces are marked to aid in measuring. Assemble the base trim using the same method as the vinyl post wrap.